
Justin Figma Design Skill
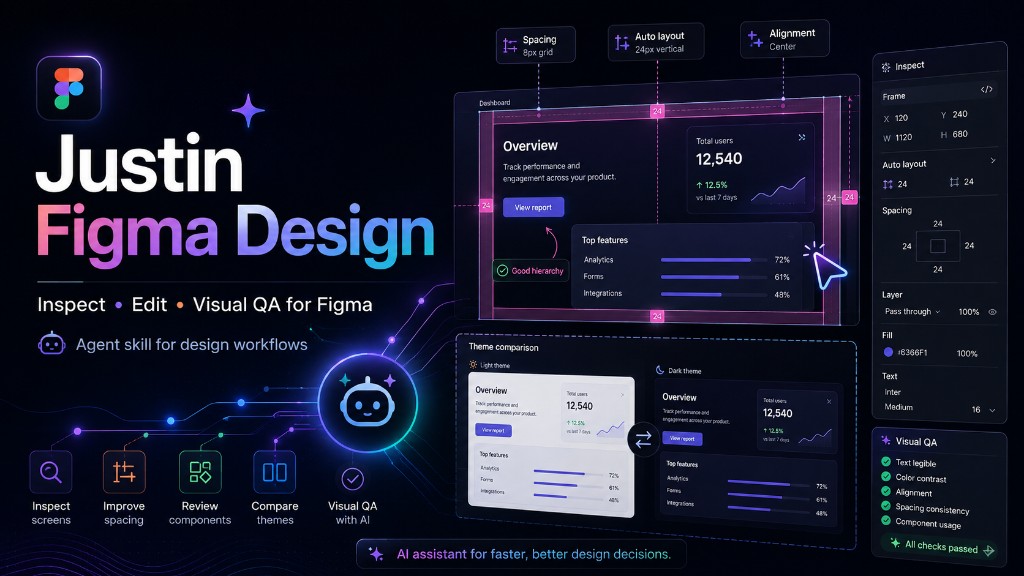
justin-figma-design helps your AI work with Figma: inspect screens, improve
spacing, review components, check themes, and visually QA the result. It is
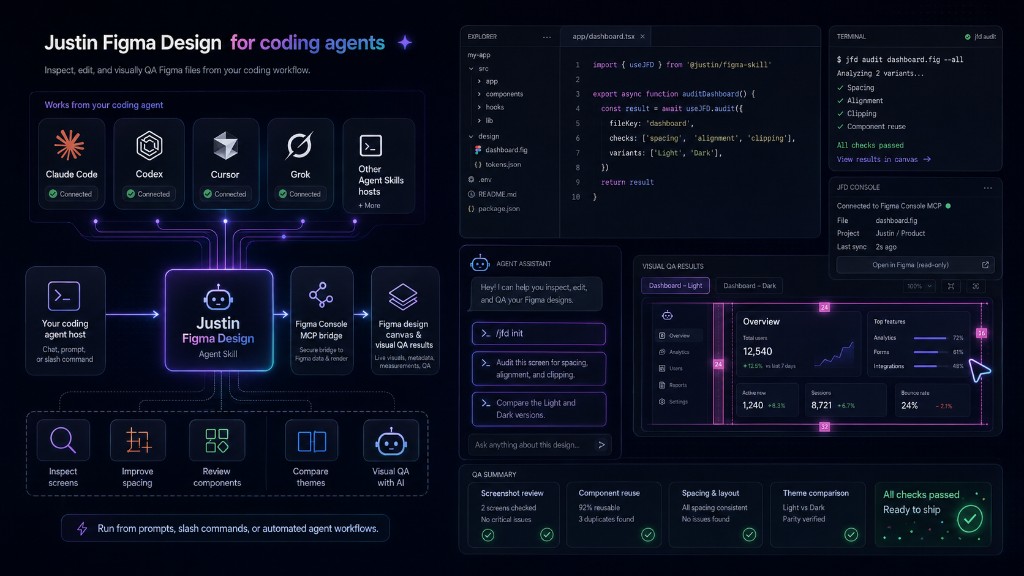
agent-agnostic and works with any Agent Skills-compatible AI app, including
Cursor, Claude Code, Codex, and others. You can also call it /jfd.
⚠️ Required for real Figma work: Figma Console MCP is the bridge between your AI app and Figma. This skill is the recipe; Console MCP is what lets the AI see and edit the canvas.
What you need
- 🤖 An AI app that supports Agent Skills
- 🎨 Figma Desktop
- 🔌 Required: Figma Console MCP
- 📦 Optional: Node.js LTS for the one-line
npxinstall
The local MCP server and Desktop Bridge are required for Figma edits and screenshots. The hosted or remote connection is for looking and investigating only.
Install the skill
Recommended: one-line install
Open Terminal and paste:
npx skills add 1955m/justin-figma-design
When asked which AI app to use, choose the one you work with. You can install the skill for all supported apps if the installer offers that choice. To make it available across projects, use:
npx skills add 1955m/justin-figma-design --global
You can also install from the full GitHub URL:
npx skills add https://github.com/1955m/justin-figma-design
Manual install: no command line
-
Open the repository on GitHub.
-
Choose Code → Download ZIP, then unzip the download.
-
Copy the skill folder into the portable skills location:
.agents/skills/justin-figma-design/Some AI apps use their own folder, such as
.cursor/skills/or.claude/skills/. Follow your app's skill-install instructions if needed. -
Restart or reload your AI app.
Manual copying is useful when you do not want to install Node.js.
Connect Figma
- Install or enable Figma Console MCP for your AI app.
- Open the Figma file you want to work on in Figma Desktop.
- Start the local/NPX MCP server and connect its Desktop Bridge to the open file. Follow the current setup instructions in the Console MCP repository.
- Return to your AI app and confirm that the target Figma file is active.
Start your first session
-
Open your design project folder in your AI app.
-
In the chat, type:
jfd initYou can use
/jfd initif slash commands are supported. This creates the project'sdocs/memory files and does not change anything in Figma. -
Paste your Figma link or identify the open file.
-
Describe the design task in plain language.
Try prompts like:
Audit this screen for spacing, alignment, and clipping.
Compare the Light and Dark versions and fix the inconsistent component state.
Review this flow first and create a read-only design baseline before editing.
What to expect
- 👀 The AI inspects the current Figma file before changing it.
- 🧩 It reuses existing components, styles, and design-system patterns.
- 📸 It checks visual changes with screenshots.
- 📝 It keeps project-specific notes in
docs/, separate from the reusable skill instructions.
Package contents
justin-figma-design/
├── SKILL.md       # Core instructions for the AI
├── references/    # Detailed workflow and QA guidance
├── scripts/       # Workspace initialization helper
├── assets/        # Templates and graphics guidance
└── examples/      # Example operating scenarios
For detailed setup and first-session guidance, see references/getting-started.md.
No comments yet
Be the first to share your take.